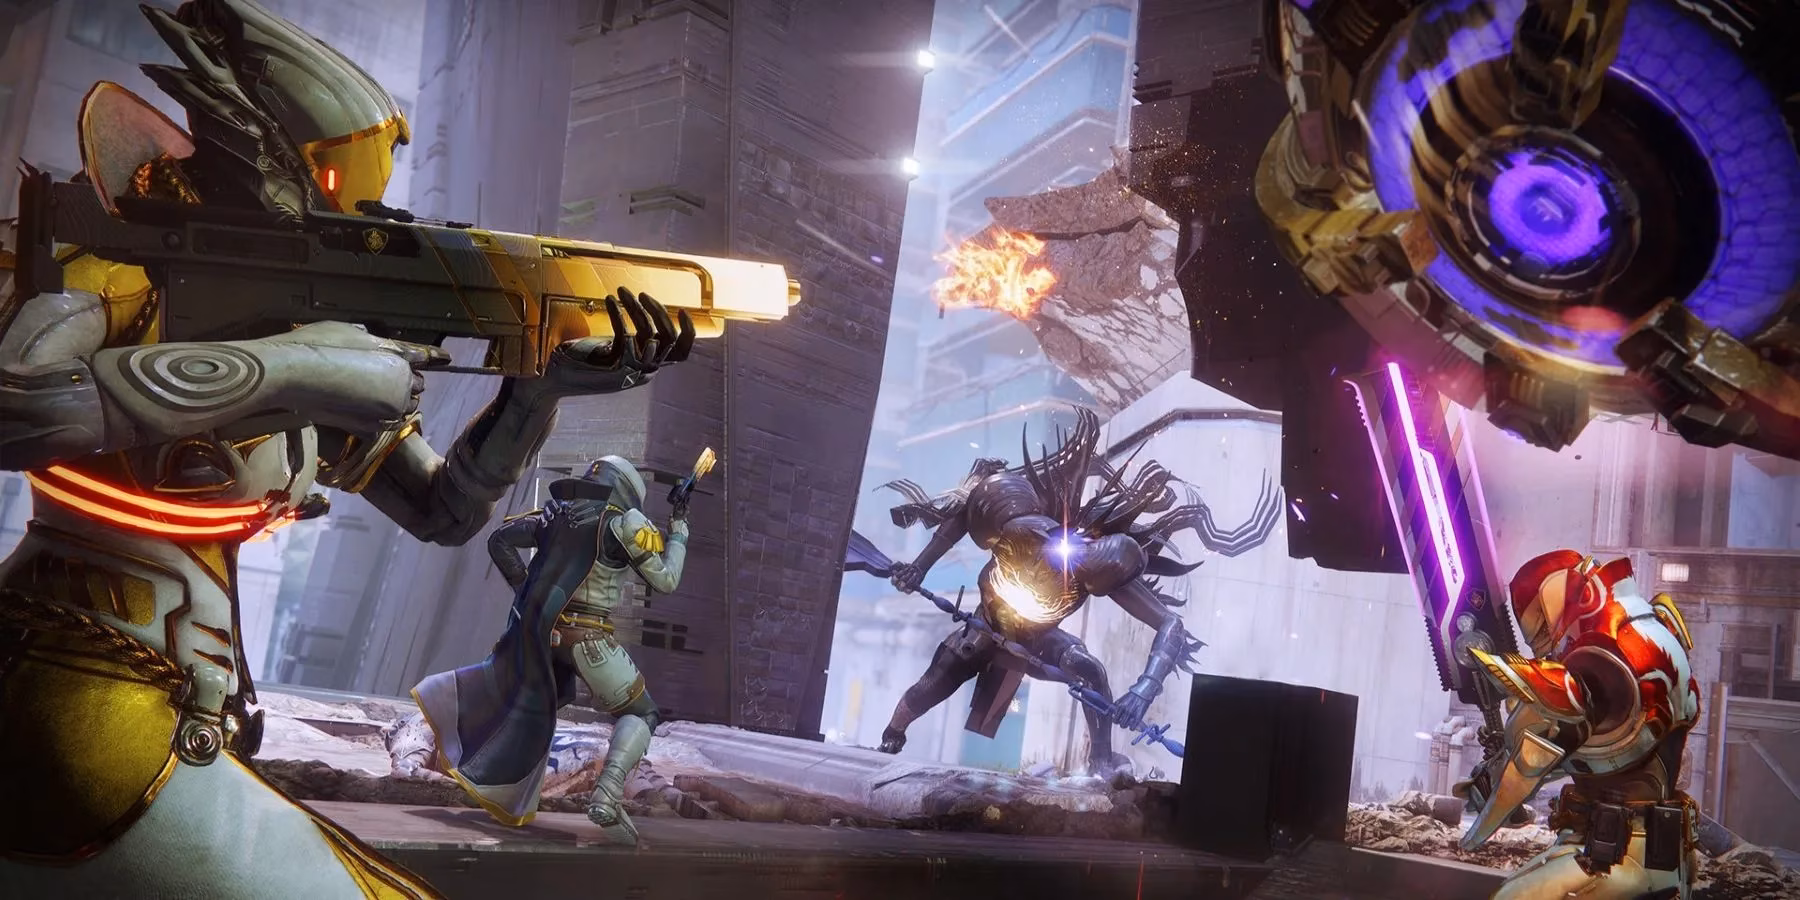
In the year 2026, the echoes of the Traveler's Light still guide Guardians, but a new crucible of skill has emerged within Destiny 2's evolving landscape. The 'Onslaught' activity, introduced with the 'Into the Light' update, stands as a pinnacle of cooperative endurance testing. While many have braved its standard waves, the Legend variant presents a formidable gauntlet. With punishing power deltas and relentless modifiers, it demands more than just firepower; it requires strategy, synergy, and a deep understanding of its unique mechanics. For those seeking the coveted double rewards, including some of the most potent armaments in the current meta, conquering Legend Onslaught is a rite of passage. This guide distills the hard-earned wisdom from the field into actionable strategies for achieving that coveted 50-wave clear.
The Defense Trinity: Investing Scrap Wisely
At the heart of Onslaught's survival is the strategic deployment of three defensive structures, purchased with Scrap earned from fallen foes. Knowing which to prioritize can mean the difference between victory and a devastating wipe.
-
Tripwires: The Weak Link 📉 - Despite their regeneration ability at max rank, Tripwires are widely considered a poor investment. Their damage output and crowd-control utility are negligible, especially when leveling them can cost over 5000 precious Scrap. Most veteran teams recommend avoiding them entirely.
-
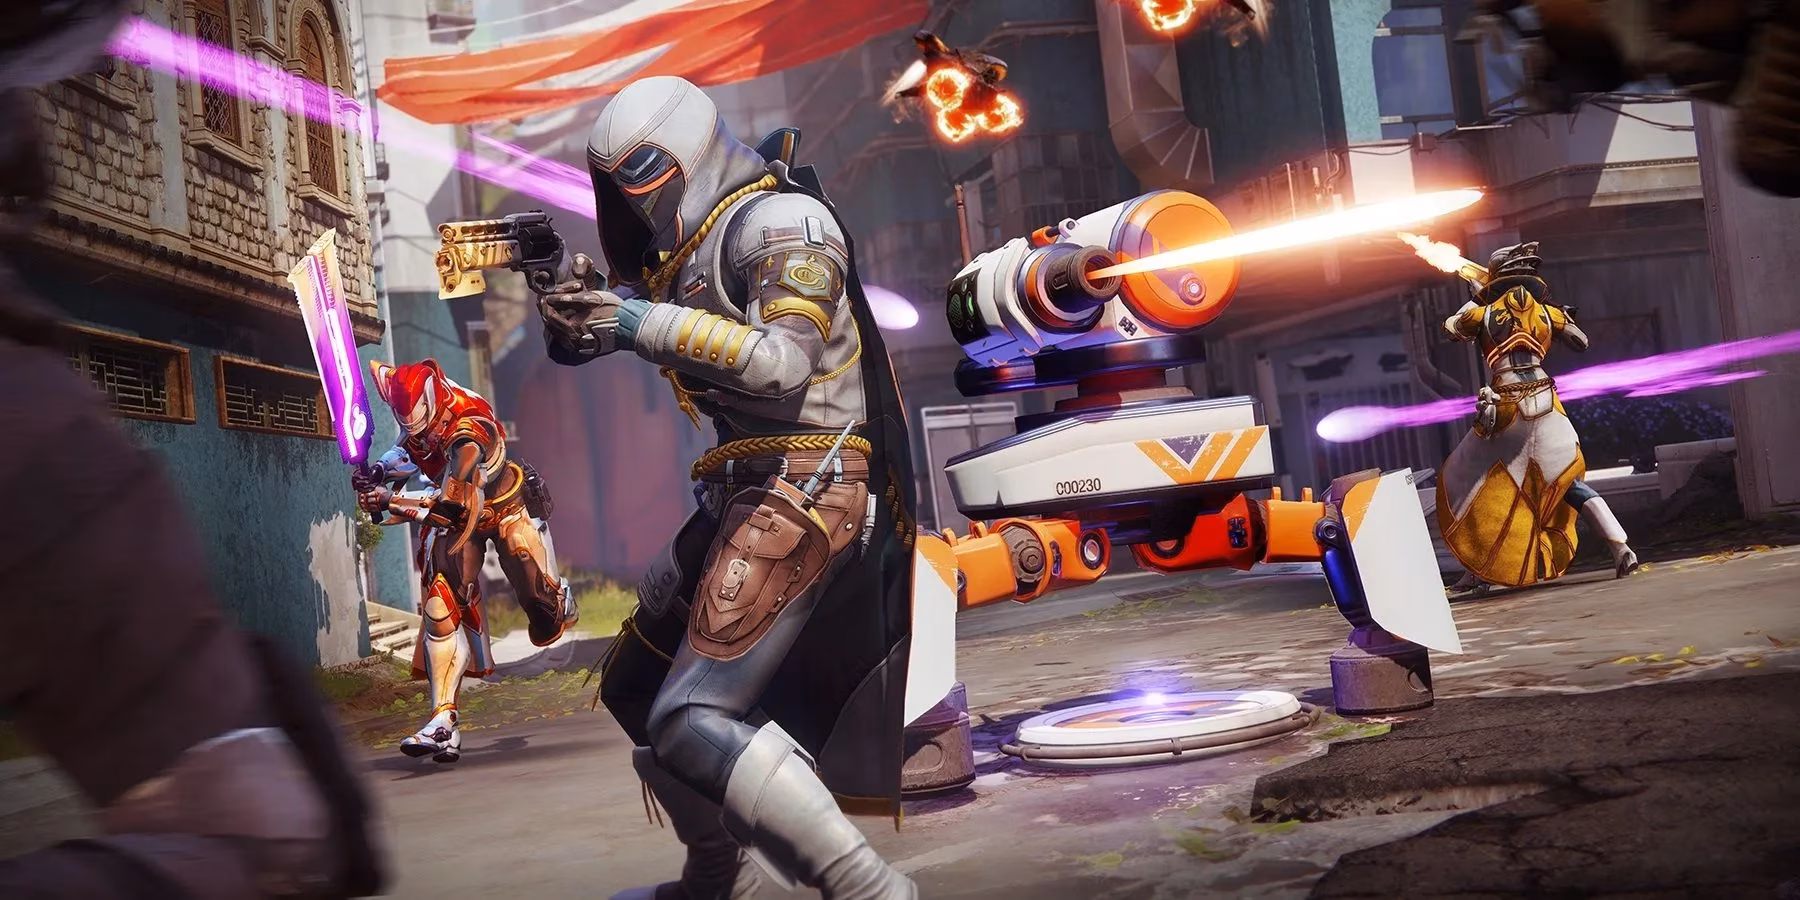
Turrets: The Damage Dealers 🔫 - These automated sentries are worth every bit of Scrap. A max-level Turret unleashes a torrent of damage that can swiftly dismantle high-value targets like Champions or Tormentors, taking significant pressure off the fireteam.
-
Decoys: The Unbreakable Distraction 🛡️ - Perhaps the most crucial defensive tool. A fully upgraded Decoy becomes incredibly tanky, drawing aggro from waves of enemies and, most importantly, from the terrifying Tormentors. Placing one strategically can save a run during the most chaotic rounds.
The optimal strategy is a balanced investment in Turrets and Decoys, creating a lethal and resilient defensive network while letting Tripwires gather digital dust.
Choosing Your Battleground: The Map Meta
Not all warzones are created equal. Onslaught currently features three arenas, each with its own flow and challenges. The community's experience over the past years has solidified a clear tier list.
| Map | Community Rating | Key Characteristics |
|---|---|---|
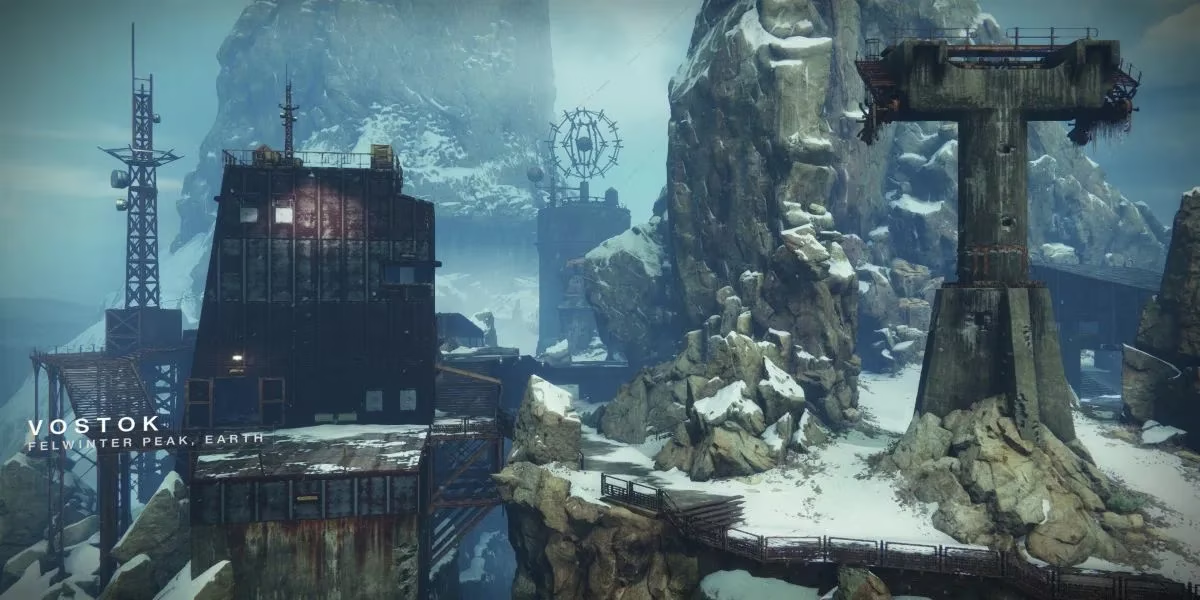
| Vostok | S-Tier (Best) 🏆 | Long, clear sightlines; excellent defensive placement spots; manageable lanes for a team of three. |
| Midtown | A-Tier (Good) 👍 | Enemies funnel through tight lanes, allowing for effective area-of-effect attacks and control. |
| Mothyards | C-Tier (Avoid) ⚠️ | Too large and open; difficult to control enemy flow; generally considered the most challenging and least enjoyable. |
Vostok reigns supreme for a high-wave clear. Its design offers predictable enemy spawns and ideal positions for Turrets and Decoys, giving Guardians precious seconds to react and eliminate threats before they overwhelm the ADU (Arsenal Defense Unit). While personal build preferences matter, stacking your fireteam for a Vostok run is often the most reliable path to success.
The Guardian's Arsenal: Builds for the Long Haul
Your weapons are vital, but in 2026's meta, your subclass build is what sustains you through fifty waves of hell. Onslaught is a perfect proving ground, abundant with Orbs of Power and Heavy ammo bricks to fuel the most ability-spammy setups.
While all classes have viable options, synergy between add-clear (crowd control) and single-target damage is non-negotiable. Consider these powerful archetypes:
-
Strand Titan (Banner of War): A perennial favorite. This setup provides massive survivability through continuous healing while allowing the Titan to aggressively hunt down priority targets like Demolitionists or Skybombers. Tangles and Suspend effects offer excellent crowd control.
-
Solar Warlock (Well of Radiance): The classic support/damage hybrid. Well provides a safe zone for defending the ADU during boss waves, while Solar grenades and Ignitions can clear entire lanes of weaker enemies.
-
Void Hunter (Gyrfalcon's Hauberk): Offers incredible offensive power and survivability through volatile rounds and devour. Excellent for quickly eliminating Saboteurs and majors while staying alive in the fray.
Experimentation is encouraged, but always ensure your fireteam's builds complement each other, covering all necessary roles.
The Fireteam Factor: Coordination is Key
Legend Onslaught has no matchmaking for a reason: it demands coordination. A pickup group from the Fireteam Finder, while sometimes successful, often crumbles under the pressure of later waves where chaos reigns.
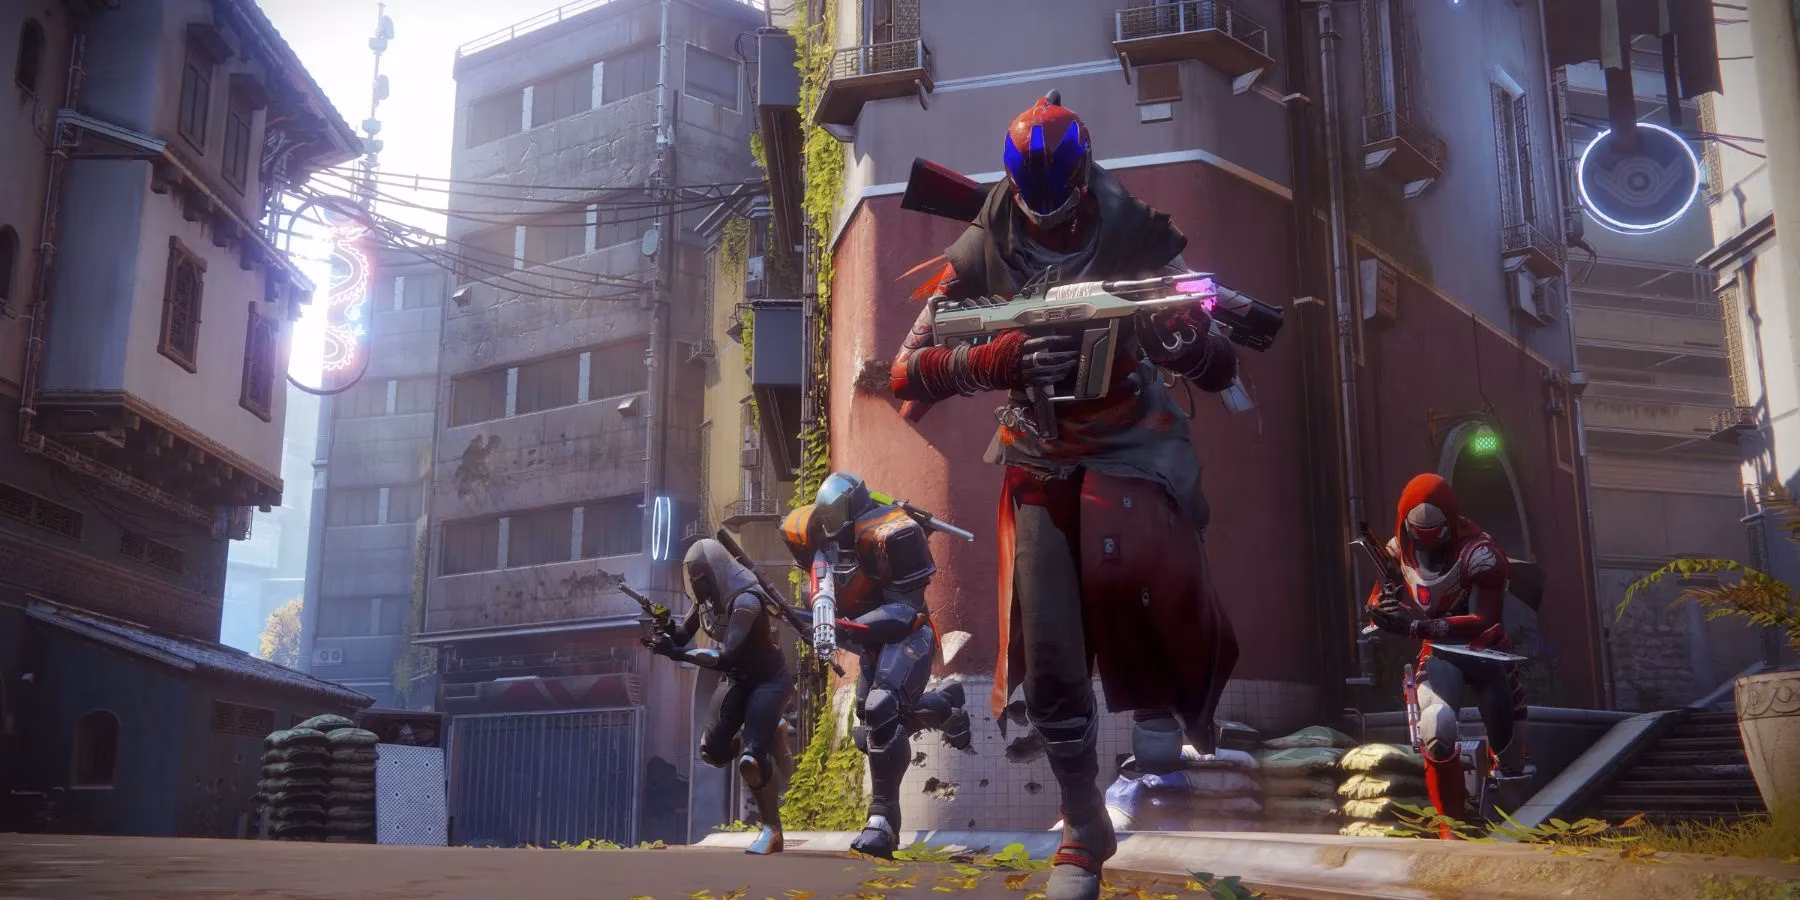
A pre-made, communicating fireteam is your greatest asset. With clear communication, you can:
-
Assign roles (e.g., who grabs batteries, who focuses on Skybombers, who captures the Pyramid Zone for Heavy).
-
Call out imminent threats and Saboteur locations instantly.
-
Coordinate super usage for maximum effect, rather than wasting them simultaneously.
-
Build synergistic loadouts (e.g., one player using Tractor Cannon for debuffs while others use high-damage heavies).
These small, coordinated actions compound, transforming a difficult challenge into a manageable, albeit intense, team effort.
The Unsung Hero: Battery Management 101
Lord Shaxx's advice is usually impeccable, but in Onslaught, forget the grenades for a moment—throw more batteries! This mechanic is the lifeblood of the mode.
Batteries are dropped by special glowing Saboteurs and mini-bosses (Champions, Tormentors, Skybombers). Their uses are critical:
-
Healing the ADU: A direct throw restores a substantial chunk of the ADU's health. In later waves, designating one player as a dedicated "battery runner" to heal during assaults can single-handedly prevent failure.
-
Generating Bonus Scrap: Here's a pro tip: even if the ADU is at full health, keep throwing batteries at it! Each throw grants bonus Scrap to the entire team, accelerating your economy and allowing for faster Turret and Decoy upgrades.
Prioritize killing Saboteurs and never leave a battery on the ground. A team that masters battery economy is a team that enters the final waves fully fortified and ready for anything the game throws at them. By combining intelligent defense, optimal map selection, potent builds, flawless communication, and relentless battery-chucking, Guardians can claim victory in Legend Onslaught and reap its powerful rewards.