Even in 2026, Operation: Seraph's Shield still holds a special place in every Guardian's heart—if only because the taste of instant laser death never gets old. This Exotic mission first launched back in Season of the Seraph, and after a brief slumber it returned via the Exotic Mission Rotator, still packing the same atmosphere, tension, and that one Hive Knight everyone loves to hate. For those brave enough to solo it or guide a fireteam through the ISS-forged labyrinth, this guide breaks down every puzzle, every combat spike, and every sneaky terminal hack as if you were reading Rasputin's own diary.
Think of the mission structure as a Russian nesting doll of mechanics: you’ll juggle Scanner, Operator, and Suppressor buffs like a circus performer spinning plates, all while the space station itself tries to transform you into a Guardian-shaped piece of modern art. Below you’ll find the most up-to-date intel (Lightfall changes included), along with tips that work whether you’re running Normal or boldly stepping into Legend’s Power-capped gauntlet.
🔄 What Changed in 2026?
"A frozen mountain doesn't melt overnight"—and neither does Bungie's love for tweaks. Since the mission first dropped, a few key adjustments have landed:
-
No more hidden chests – those sneaky drones that once guarded bonus loot have been quietly retired. If you still see a ventilation shaft calling your name, it’s just nostalgia.
-
Lasers now mean immediate death – no Seraph upgrades to soften the blow. Touching a laser beam is like stepping on a cosmic LEGO; you’re just gone.
-
Reward pool expanded – beyond Revision Zero upgrades, you can now chase craftable IKELOS 1.0.3 weapons and Season of the Seraph gear (yes, that includes the beloved IKELOS_SMG).
-
Legend difficulty no longer has Chaff or Iron – instead you’ll face Overcharged Pulse Rifles, Surges for Void/Strand, and a Scorched Earth modifier that turns every Dreg into a grenade-tossing enthusiast.
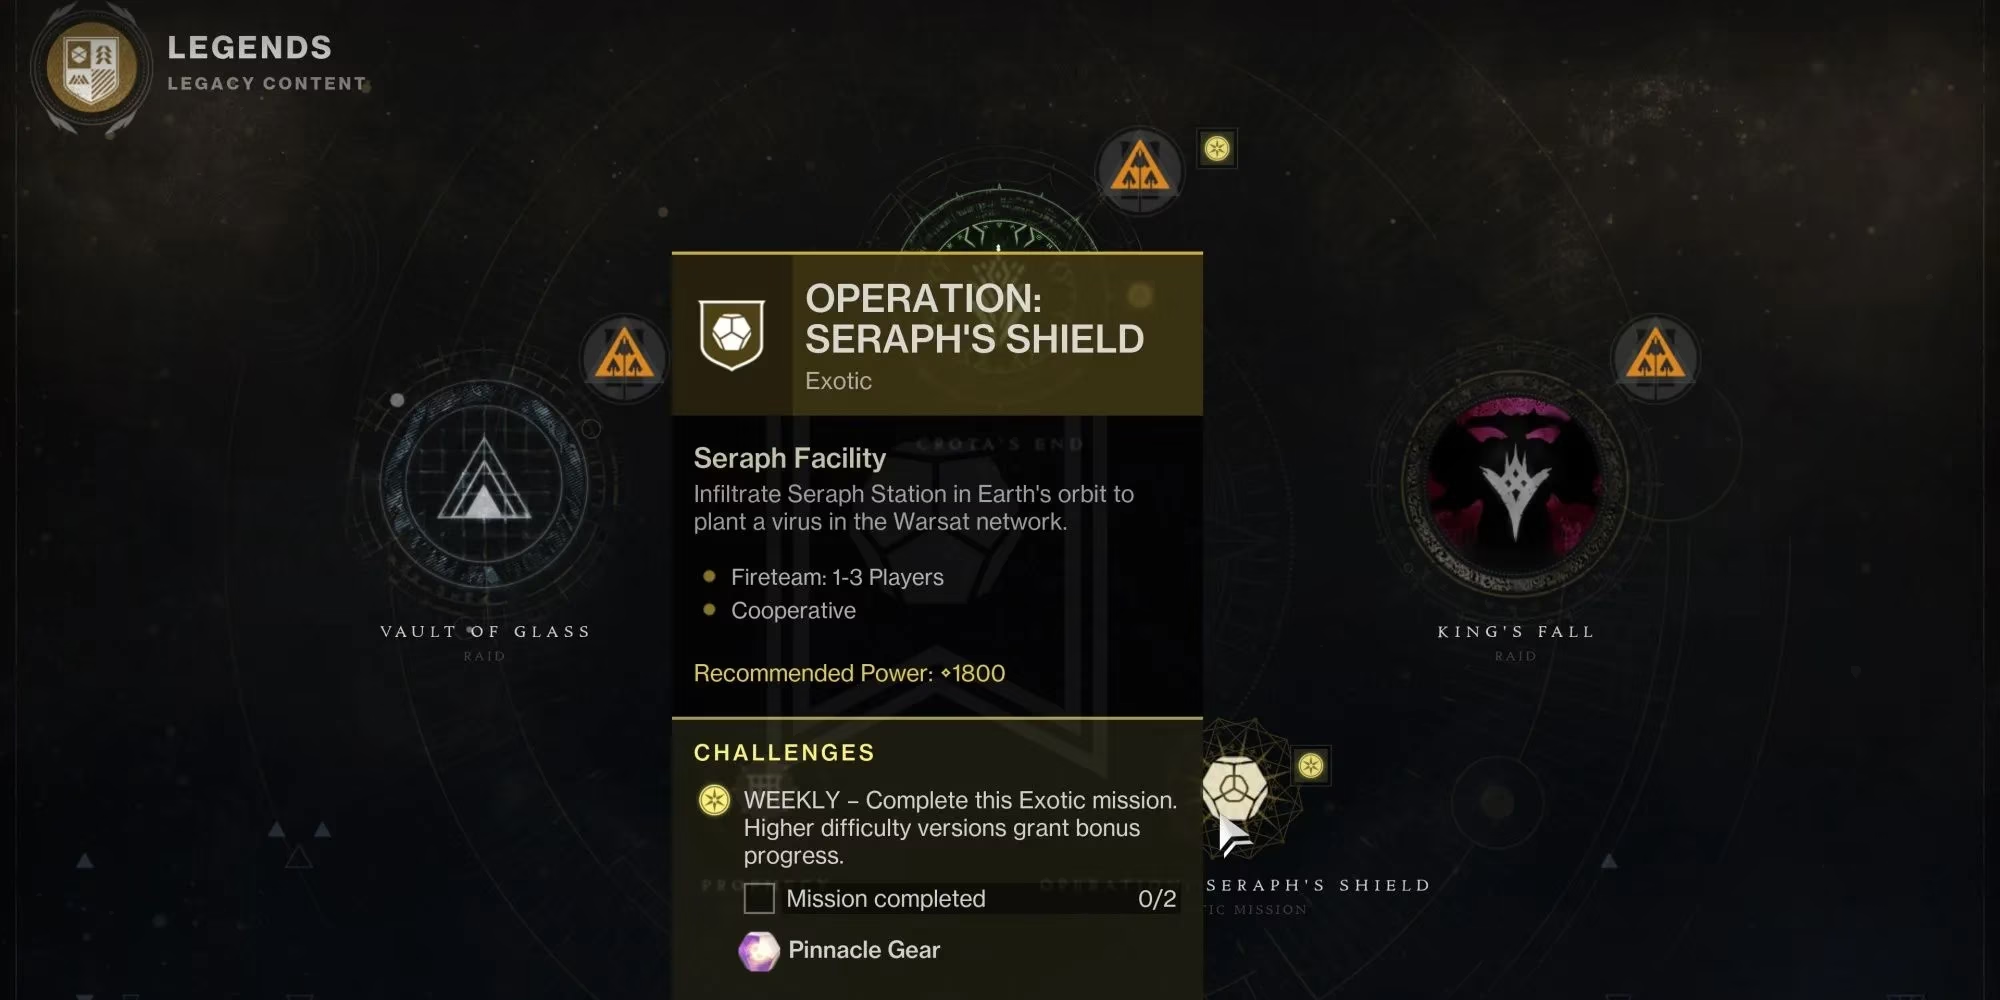
👣 Step 1: Infiltrate the Launch Facility
The opening is pure cold-war-in-space: avoid the Seraph Towers’ gaze like a thief in the dark. Use rocks, trees, and broken walls as your cloak. Once you’ve snuck past the watching eyes, a lumbering Ogre guards the entrance. Treat it like a piñata filled with disappointment—swiftly cancel it and head inside.
Inside, the first laser grids appear, crisscrossing corridors like the web of a particularly angry spider. Every beam is an insta-kill, so look for gaps at the top or bottom. Slide under low beams, jump over high ones. The path isn’t complex, but panic is your real enemy here.
A squad of Fallen from House Salvation will be tinkering with the launch controls. Note the yellow oval above one of them—this is the Scanner buff, a mechanic pulled straight from the Deep Stone Crypt raid. Kill the Scanner Vandal, steal its glowing yellow soul (the buff), and then interact with three consoles that light up for you. Think of the Scanner buff as a spectral flashlight that turns hidden terminals into neon breadcrumbs. Once all three are activated, call in the orbital pods and launch yourself toward Seraph Station—enjoy the view of Earth while you can.
🧩 Step 2: Board and Gain Access
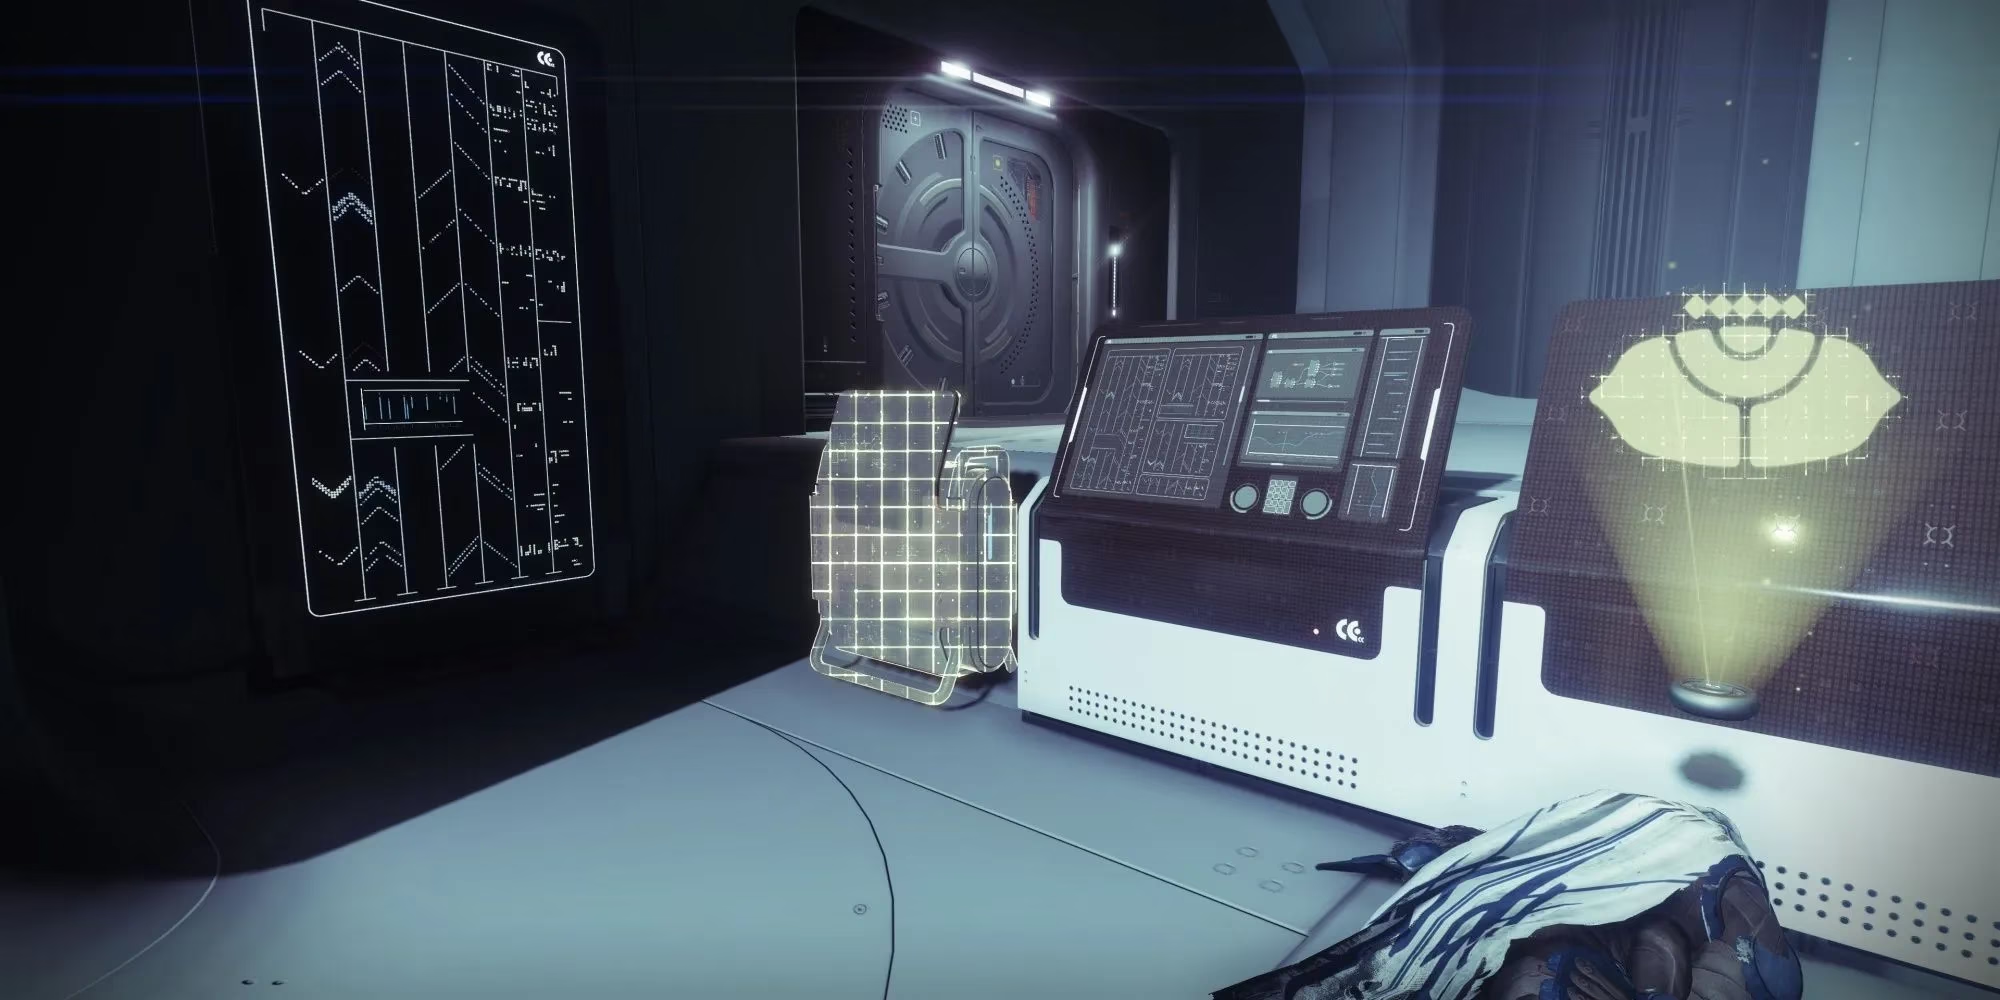
Welcome to the station’s antechamber. Deposit your Scanner buff into the Augmentation Terminal (the white kiosk glowing faintly yellow). This opens the door to another Scanner puzzle. Clear the Fallen, grab the buff again, and hack three terminals:
-
Terminal 1: directly to the right of the Scanner Splicer.
-
Terminal 2: turn around from the Splicer’s spawn, break open the air vent, and crawl through to a hidden room.
-
Terminal 3: backtrack to the previous room, kill the Shanks, and head to the end of the corridor.
Before depositing the Scanner buff in the exit room, look for three floating drones. Shoot them in the order their shields flash—this used to unlock a hidden chest, but now it’s just a fun minigame (no loot, but it’s tradition). Deposit the buff and proceed.
💡 Step 3: Access the Decontamination Chamber
Another room, another Scanner puzzle. The routine is comfortable by now: delete the Fallen, take the Scanner buff, and activate three terminals. This time the third terminal is tricky: after the first two, you’ll see four terminals aligned near the Augmentation Terminal. Memorize which one glows, then deposit the Scanner buff. Enter the adjacent room, run up the stairs, and interact with the console that matches the glowing terminal you noted. Get it wrong and the lasers will treat you like a bug under a telescope. Backtrack and proceed through the decontamination corridor—beware of those turrets on Legend difficulty, they hit like ex-boyfriends with sniper rifles.
🕸️ Step 4: The Security Sector Maze
Here comes the first true test of patience. On the second floor, grab the Scanner buff and look through the glass at a spacious room below. You’ll see three glowing consoles and a grid of plates. The Scanner buff reveals both the correct terminals and a safe path through the radiation chamber. Step on the wrong tile and the room roasts you alive faster than a Hunter without recovery.
Pro tip: take a screenshot of the path and keep it visible. This isn’t a drill—the safe tiles are often disconnected, forcing you to jump calmly while lasers slither nearby like glowing vines. Once you’ve identified the right terminals (one per wall), drop down, follow the path, and activate each one. Clear? Good. You’ve just escaped a puzzle that would make a Vex Mind turn in its fluid.
🔴 Step 5: The Operator Protocol
Now the mission introduces the Operator buff—a red halo-headed icon that lets you shoot special red panels. Grab the buff from a Fallen Splicer, then find and shoot three panels scattered around:
-
Panel 1: inside the red-lit room on your left, visible through a glass slit on a pillar.
-
Panel 2: exit the red room, turn left into a Hive-infested area, crawl through the vent on the right, and shoot the glowing panel through another slit in the adjacent room.
-
Panel 3: from the main room, turn right (opposite the red room) to find a ventilation shaft behind a pillar. Slide through, clear the room, and shoot the panel from the window.
Each panel you hit is like unlocking a car door with a remote—except this car is a haunted space station that wants you dead. With all three done, clear the final Hive wave and deposit the Operator buff to open the next area.
🛡️ Step 6: Get “Captured”
This is where Elsie’s clever plan unfolds. Start the encounter by damaging the Ether Tanks. An Ascendant Knight spawns, and you must damage it until it goes immune. Then survive. Fallen reinforcements pour in, including Tracer Shanks and Brigs (those walking mechs that fire missiles like confetti). Kill everything, but don’t actually surrender—you’re just buying time for the Servitor to teleport you aboard the Ketch.
Loadout tips for the tough fight:
-
Riskrunner and Trinity Ghoul turn arc-shooting enemies into chaining jokes.
-
Voidwalker Warlocks with Devour become unkillable shadows.
-
Hunters can lean on Assassin’s Cowl for constant invisibility.
-
Resilience at 100 is mandatory; treat it like a second shield.
Once all enemies are down, the Fallen ambush you and take your weapons. Relax—you’ll steal them back in a cinematic moment that feels straight out of an action flick.
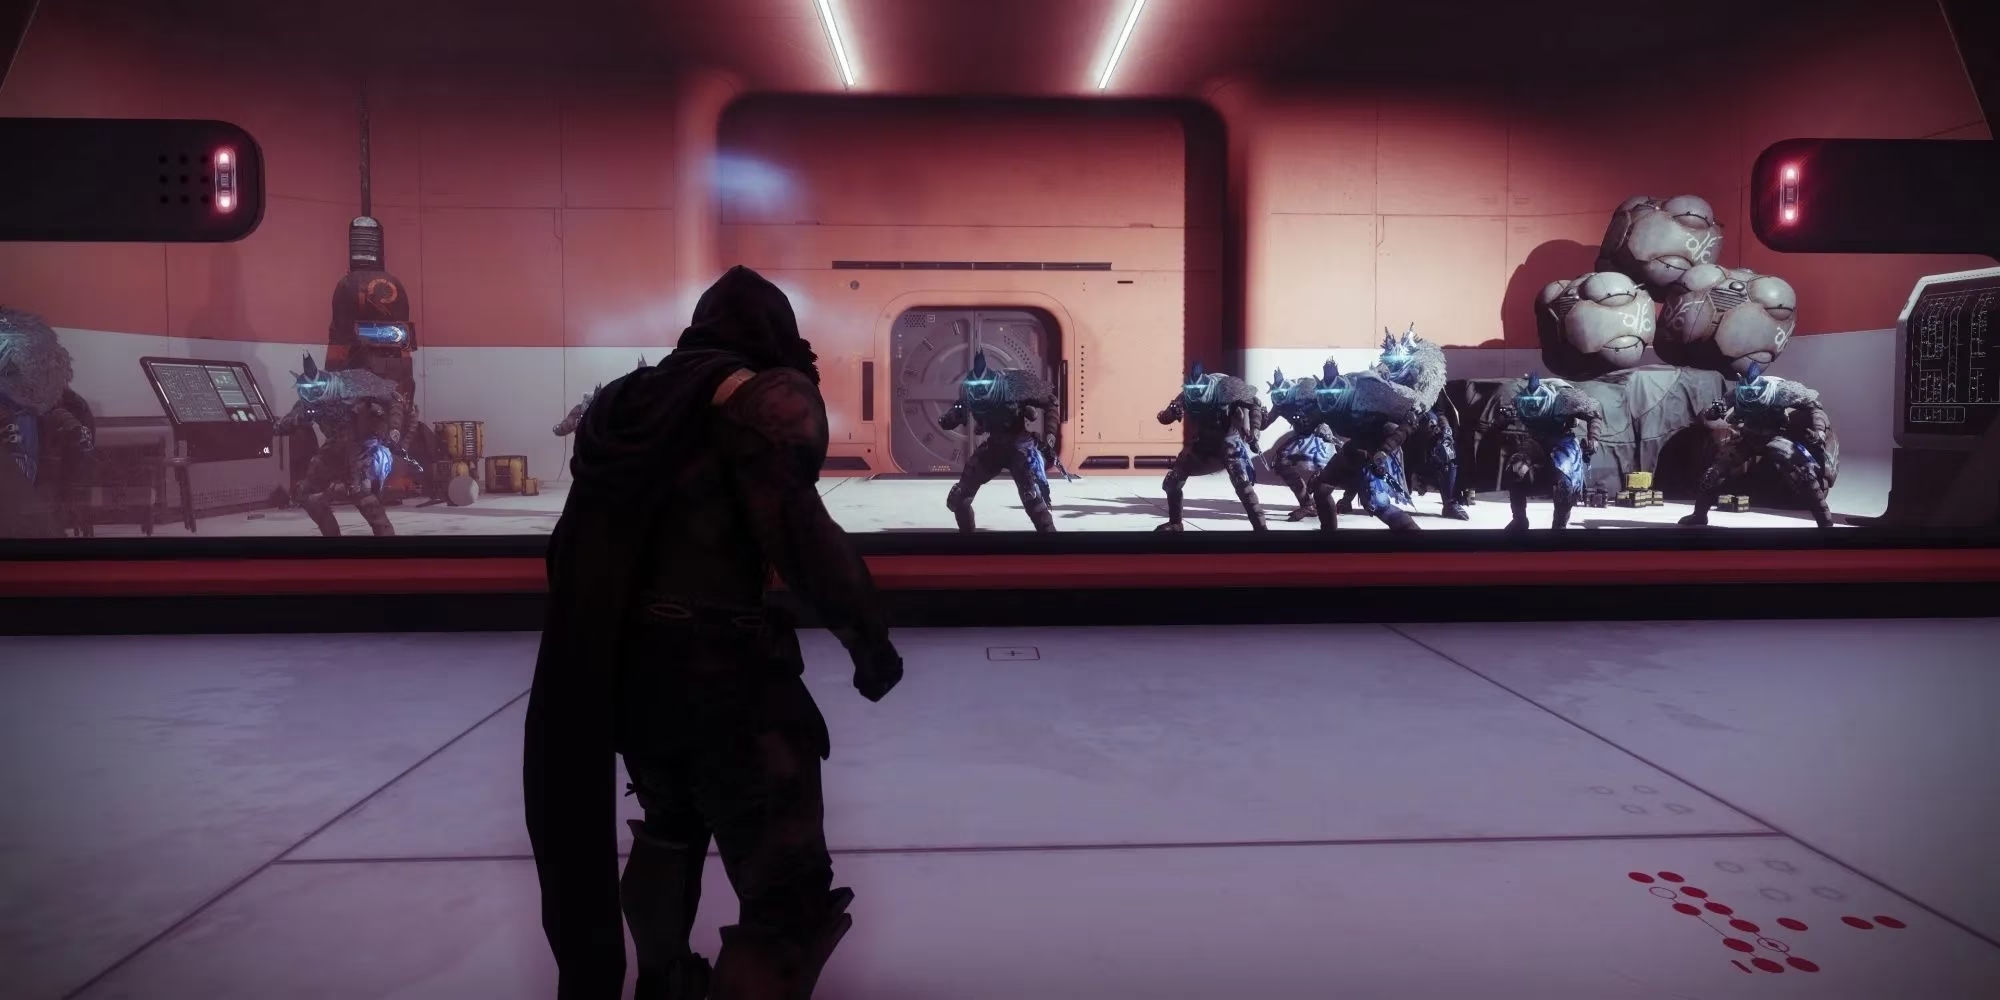
🚀 Step 7: Escape the Ketch
Right after you grab your gear, six Exo frames can be freed from jail cells (optional but adorable). Clear the path to the bow of the ship, then jump off into the void toward Seraph Station’s outer platforms. Follow the red lights like a breadcrumb trail of angry light.
To bridge the massive gap, you’ll need the Operator buff again. Kill the Splicer, then shoot three panels on the space station’s exterior to extend platforms:
-
On the wall beside the Operator Splicer you just killed.
-
From the square platform behind panel 1, look back at your previous perch.
-
Slightly to the left, on the wall near that annoying Hive Knight.
With the way open, ascend, enter the decompression chamber, and defeat the Ascendant Knight again (unload all your heavy—the reinforcements vanish the moment it dies).
🔵 Final Puzzles: Scanner + Operator + Suppressor
Just before the bridge, you’ll face one last buff juggling act. Grab the Operator buff and shoot the two central pillars to open side rooms. One room holds a Scanner Splicer. Deposit your buff, take Scanner, and hack two terminals. Then a larger area unlocks; inside, a Fallen carries the Operator buff. Deposit Scanner, grab Operator, and shoot a panel on a hanging pillar to reveal a hidden corridor with another Scanner Splicer. Hack the terminal and a teleporter activates.
Now meet the Suppressor buff—a blue eye icon that turns your bullets into EMP Rounds. With the Suppressor buff, stand under floating Clovis drones and shoot an invulnerable target to disable it. Do this three times to reveal a Fallen drone; destroy it to strip the boss’s immunity. It’s like a game of cosmic whack-a-mole, and the moles are powered by Darkness.
👾 Boss: Praksis, the Defiled
Resurrected and infused with Stasis, Praksis behaves like the Deep Stone Crypt’s Descent encounter but with only the Suppressor mechanic. Whittle down the boss’s HP by 33% until it goes immune. Then grab the Suppressor buff from a Splicer on the catwalks (top floor) and locate the three floating Clovis drones. Stand under each one while shooting Praksis to stun it. Once all three are disabled, three Fallen drones appear—destroy them to drop the immunity shield. Rinse and repeat one more time.
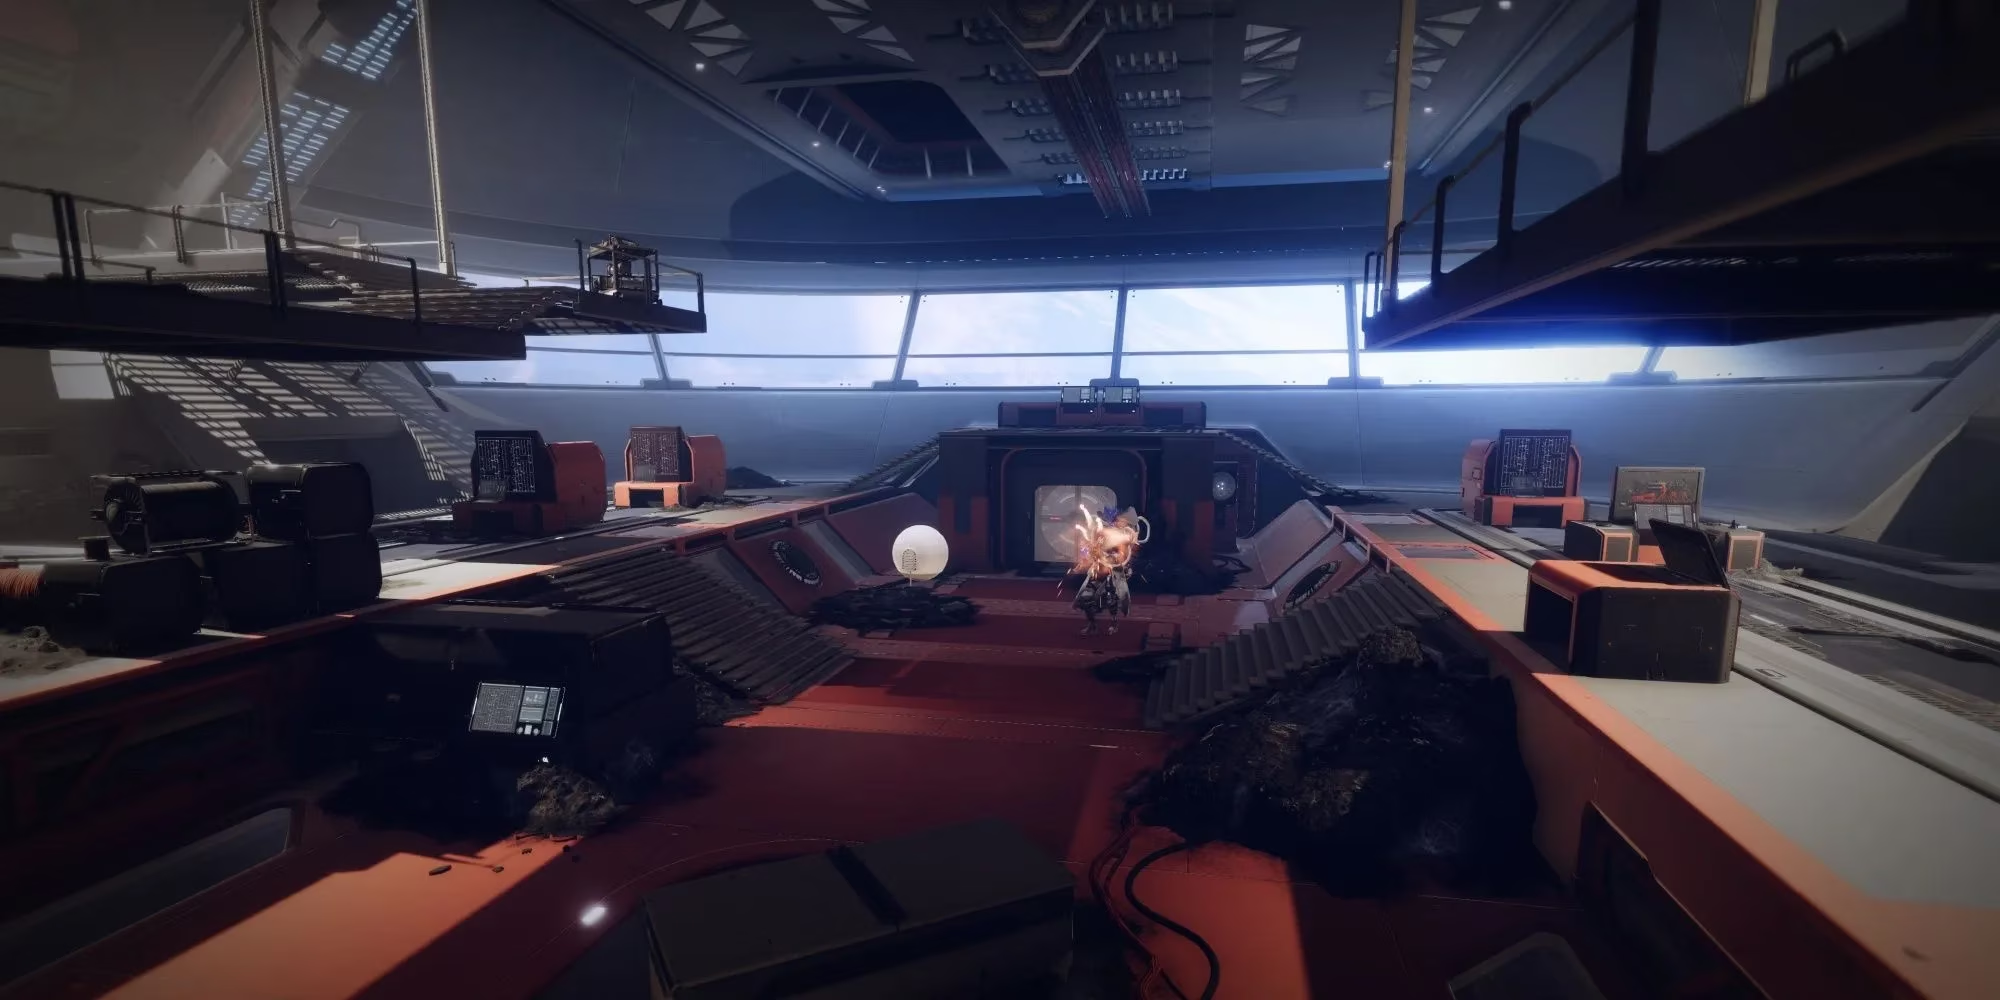
Heavy weapons and precision hits shine here. A single well-placed Thundercrash or Nova Bomb can skip entire phases. When the boss falls, upload the virus at the console, collect your loot, and revel in the fact that nothing can laser you for the next few seconds.
🎁 Rewards & Loot Pool
Revision Zero: The Shape-Shifting Pulse Rifle
Your first clear awards Revision Zero, a Kinetic Pulse Rifle that can morph into a Sniper Rifle after landing precision hits. It’s fully craftable, with barrels, magazines, and exotic catalysts unlocked by completing the mission (one intrinsic upgrade per normal clear, two per Legend). In 2026, this rifle still holds its own in PvE with combos like Fourth Time’s the Charm + Vorpal, and in PvP it can one-tap heads in sniper mode.
Seasonal Weapon Drops
Each clear also drops a weapon from the Season of the Seraph pool—all craftable. Here’s the full menu:
| Weapon | Archetype | Damage |
|---|---|---|
| Fire and Forget | Linear Fusion Rifle (3-burst) | Stasis |
| Tripwire Canary | Bow (500 Draw Time) | Arc |
| Disparity | Pulse Rifle (450 RPM) | Stasis |
| Judgment of Kelgorath | Glaive (55 RPM) | Solar |
| Path of Least Resistance | Trace Rifle (1000 RPM) | Arc |
| Retrofit Escapade | Machine Gun (900 RPM) | Void |
| IKELOS_HC_v1.0.3 | Hand Cannon (180 RPM) | Arc |
| IKELOS_SG_v1.0.3 | Shotgun (140 RPM) | Solar |
| IKELOS_SMG_v1.0.3 | SMG (750 RPM) | Arc |
| IKELOS_SR_v1.0.3 | Sniper Rifle (140 RPM) | Solar |
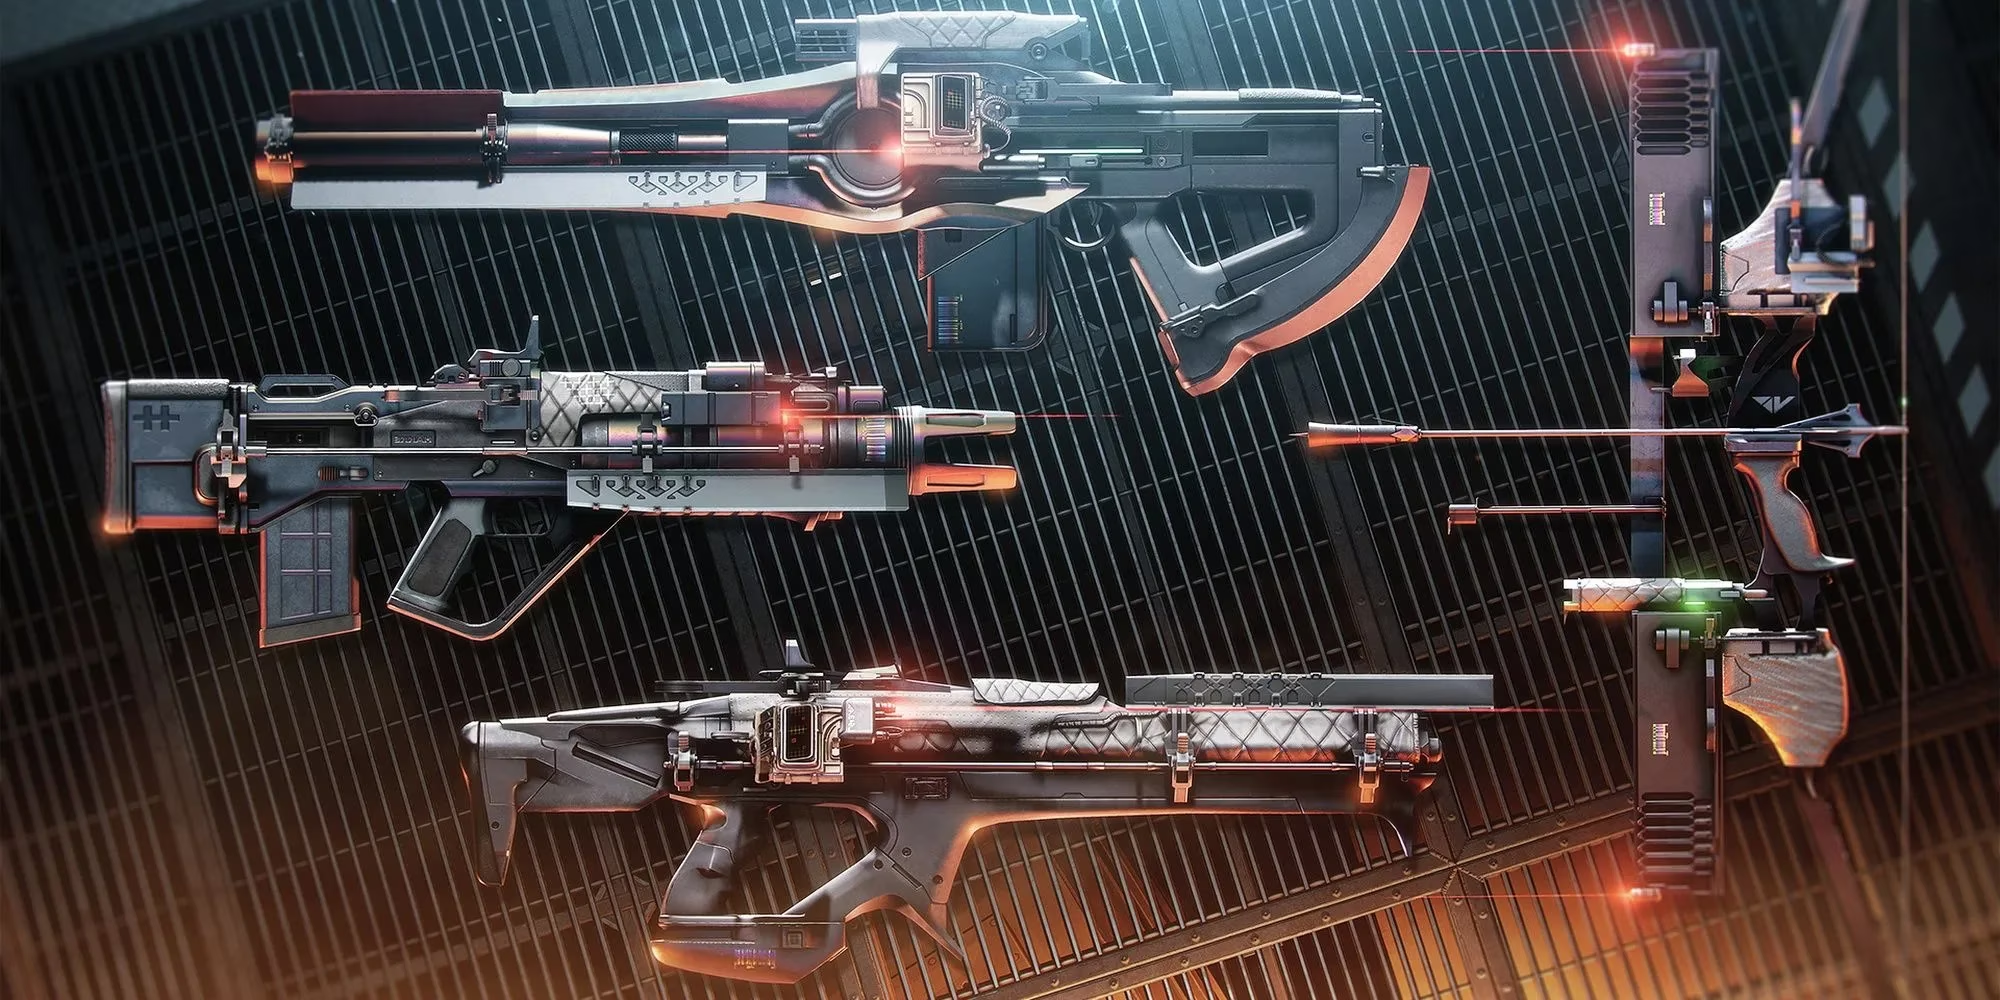
Whether you’re chasing god rolls or just want to prove you can still walk through a laser maze without screaming, Operation: Seraph’s Shield remains a standout mission. It’s a puzzle box wrapped in an atmosphere so thick you could cut it with a glaive. So grab your Anti-Barrier mods, tuck a screenshot of the security path under your ghost, and show that space station who’s boss.